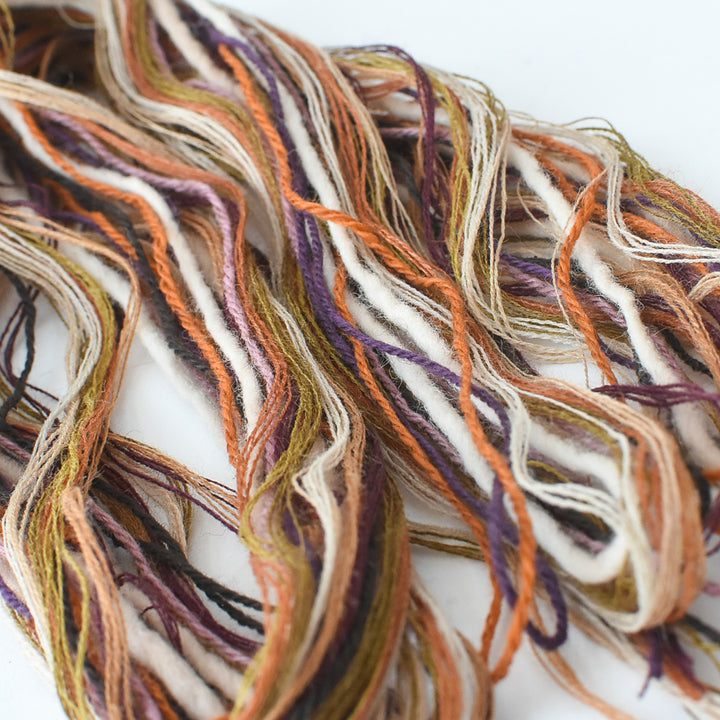
Embroidery is drawing with thread. With a needle, a piece of fabric, and a few colors, you can create delicate lines, bold shapes, tiny details, or an entire garden of stitched flowers.
The basic idea has remained much the same for generations, but today’s embroiderer has an especially inviting range of materials to explore. There are beautifully illustrated pattern books, designs printed directly onto cloth, thoughtfully assembled kits, natural-fiber fabrics, and threads in nearly every color and texture imaginable.
You don’t need to know every stitch or have a fully planned project before you begin. The first step is simply deciding how much guidance you would like—and how much you would like to make your own.
First, Choose How You Want to Work
There are several ways to begin an embroidery project. Some offer plenty of structure, while others leave nearly every decision in your hands.
1. Work from a Book of Patterns
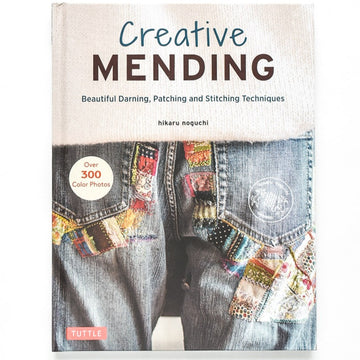
An embroidery book gives you a collection of motifs to choose from while leaving the fabric, colors, placement, and finishing up to you.
This is a wonderful option if you enjoy making creative decisions but would prefer not to draw the design itself. You might stitch a single flower onto a napkin, arrange several botanical motifs into a sampler, or adapt a small illustration for a pocket, pouch, or garment.
Books can also be returned to again and again. The same pattern may look completely different when stitched with another palette, worked on a darker cloth, or made with a different combination of stitches.
2. Begin with Pre-Printed Embroidery Cloth
With pre-printed cloth, the design is already on the fabric, so you can begin stitching without transferring a pattern first.
Some printed designs include suggested colors or stitches, while others leave those choices open. Either way, you still have room to make the work your own. You can follow the example closely, change the palette, simplify certain details, or add stitches and embellishments of your own.
Pre-printed cloth offers a comfortable middle ground: more guidance than starting with a blank fabric, but more flexibility than many complete kits.
3. Draw or Transfer Your Own Design
A blank piece of fabric can become almost anything.
You might draw directly onto the cloth with a removable fabric marker, transfer a pattern from a book, trace a simple illustration, or begin with only a few loose guide lines. This approach gives you complete control over the scale, placement, colors, and stitches.
It can feel like the most open-ended option, but your design does not need to be elaborate. A sprig, a name, a line drawing, or a scattering of tiny shapes can be enough for a satisfying first project.
Choosing Fabric for Embroidery
Embroidery can be worked on many kinds of cloth, but a stable woven fabric is generally easiest to handle—especially when you are learning.
Cotton and linen are both good places to begin. They hold up well to repeated stitching, come in many weights and colors, and allow the needle to pass through without too much resistance. A fabric with a visible weave can also make it easier to judge spacing and keep stitches consistent.
Very loose fabrics may distort in the hoop, while tightly woven or especially heavy materials can be harder to stitch through. Stretchy knits and delicate fabrics can be embroidered, but they often benefit from a stabilizer and a little more experience.
You can purchase embroidery cloth by the piece or begin with an object that is ready to embellish. Some approachable possibilities include:
-
Linen or cotton napkins
-
Dish towels
-
Tote bags
-
Handkerchiefs
-
Pouches
-
Garment pockets or collars
-
Fabric panels for framing
-
Pre-sewn embroidery blanks
Before choosing a surface, consider how the finished object will be used. A decorative piece may accommodate delicate stitches and raised textures, while a napkin, garment, or tote needs stitches that can withstand handling and washing.
Choosing Embroidery Threads
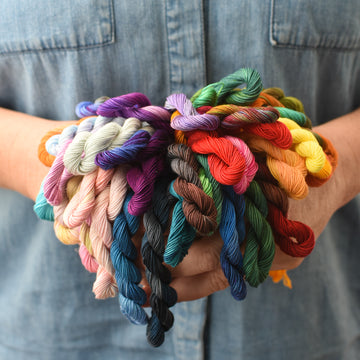
Six-strand cotton embroidery floss is the familiar starting point for many embroiderers. It is widely available, easy to work with, and made in an enormous range of colors.
The six strands can be separated, allowing you to change the weight of the stitched line. One or two strands create finer details, while three or more produce a fuller, bolder effect. You can vary the number of strands within a project just as you might change the width of a pencil or paintbrush.
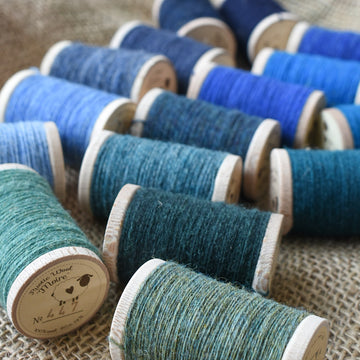
Cotton is only the beginning. Silk, linen, wool, and specialty threads each bring their own character to the cloth:
-
Cotton floss is versatile, smooth, and well suited to most types of hand embroidery.
-
Silk thread has a soft sheen and can make colors appear especially luminous.
-
Linen thread has a crisp, natural texture and a slightly more rustic appearance.
-
Wool thread creates a fuller line and adds warmth, texture, and dimension.
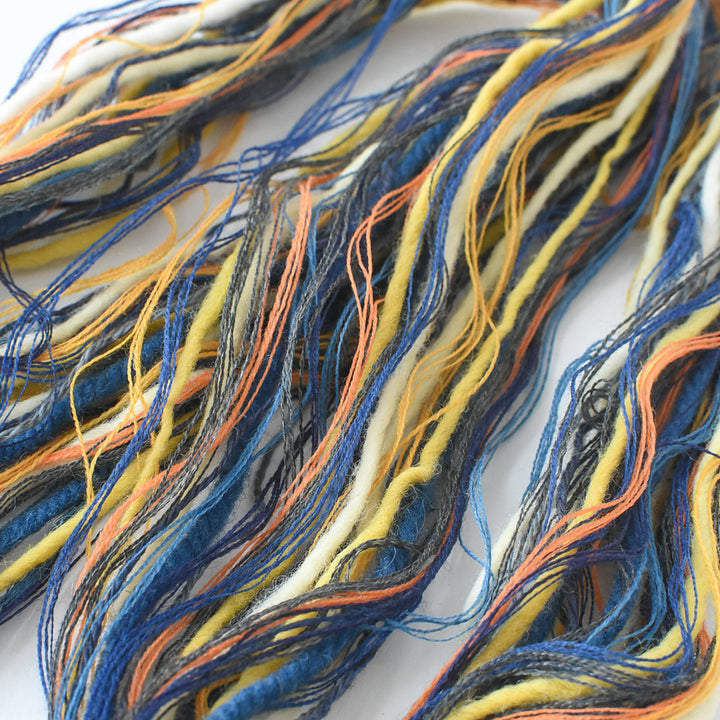
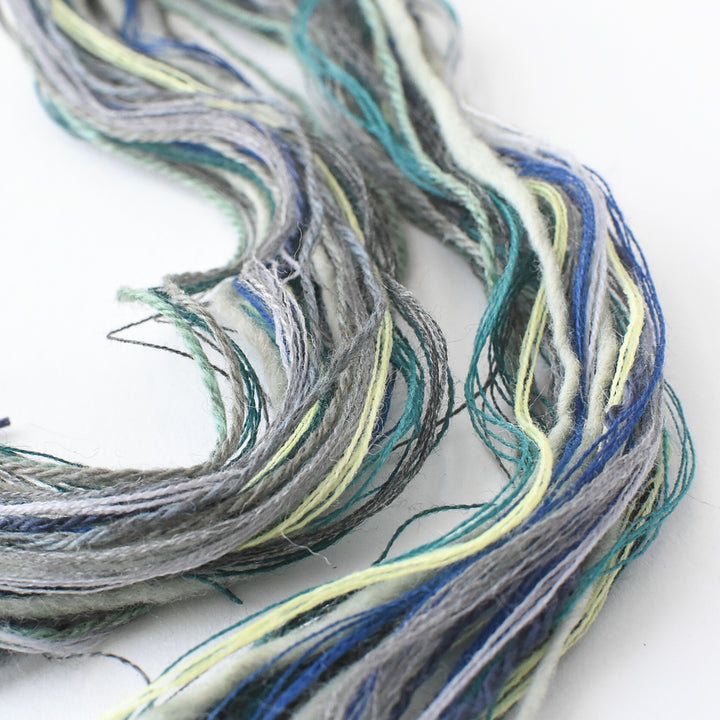
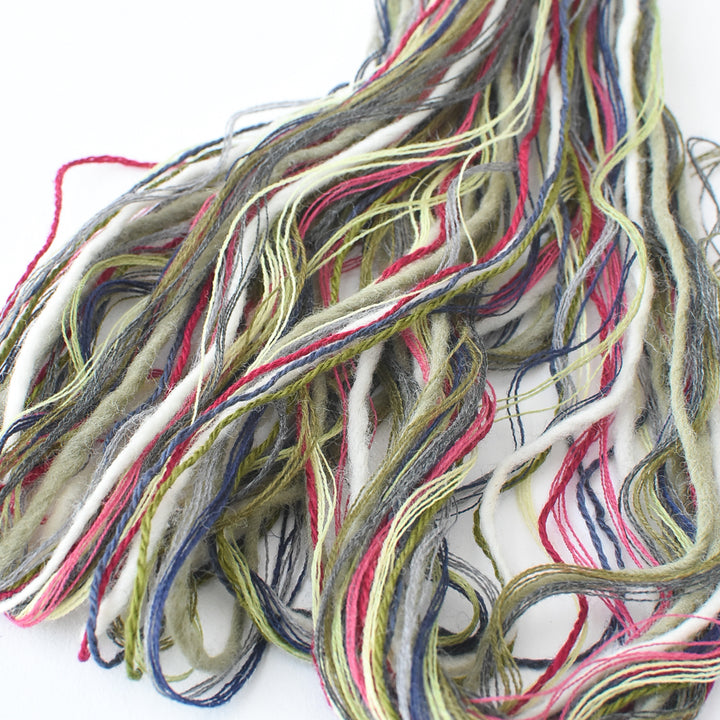
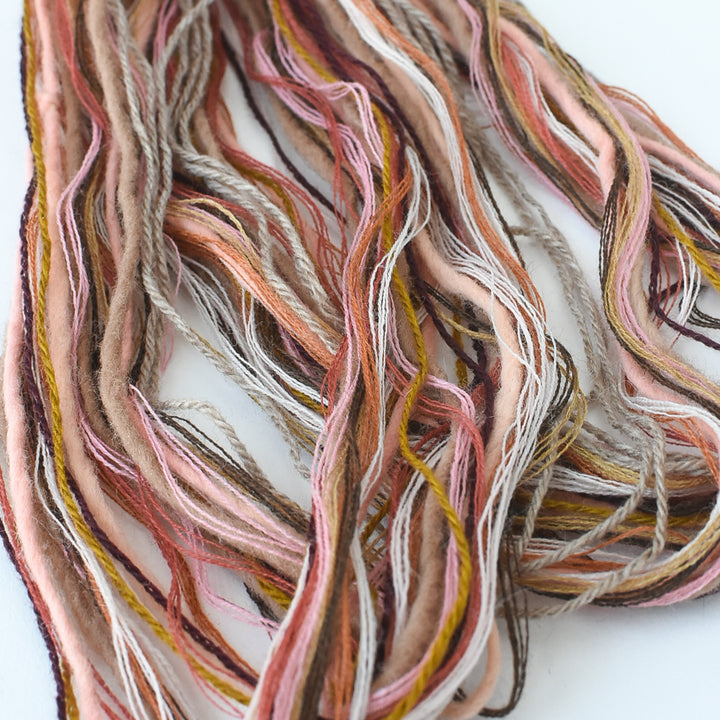
For a first project, you may find it easier to work with a small, coordinated palette rather than choosing from dozens of individual colors. Three to six shades are often enough to create a design with variety and depth.
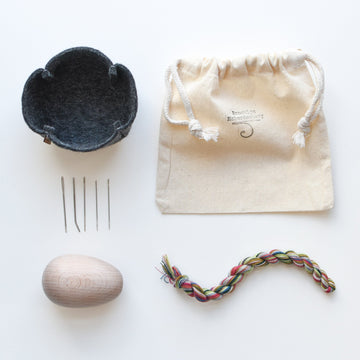
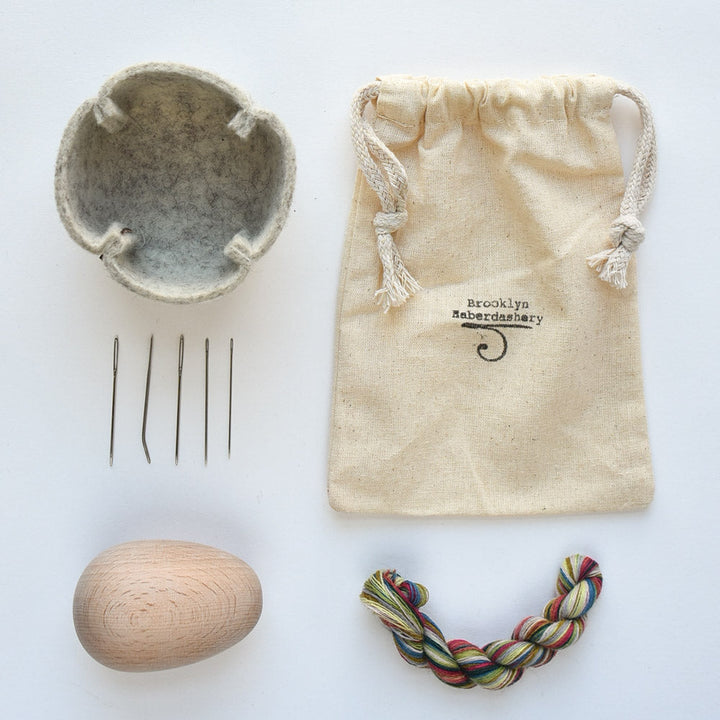
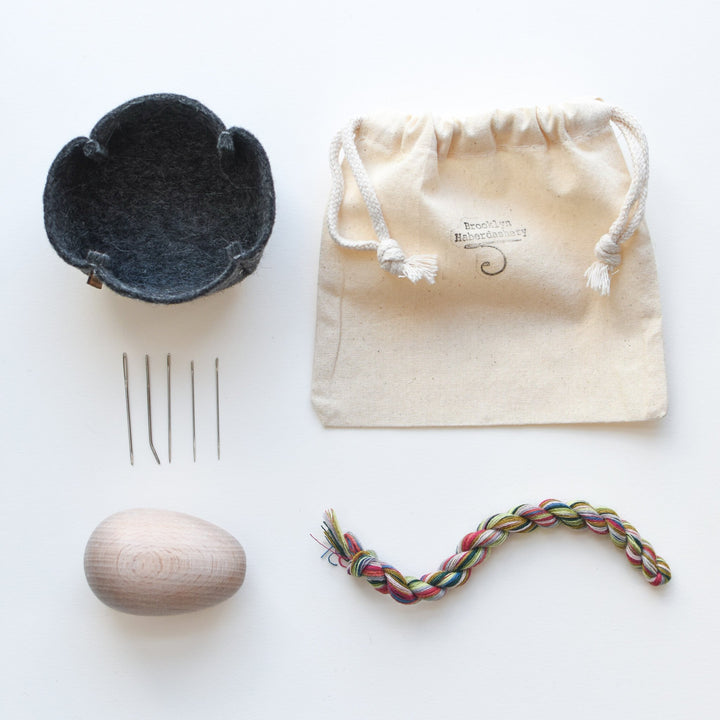
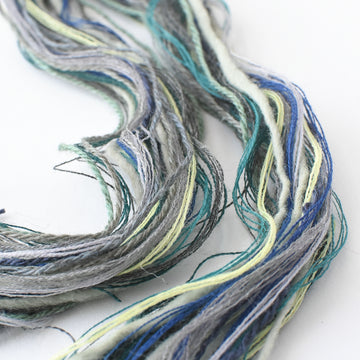
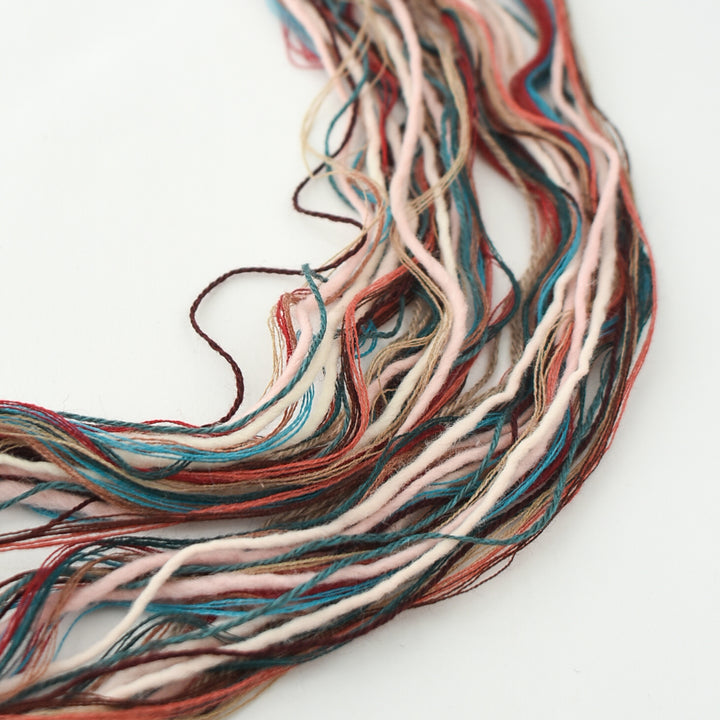
A prepared thread set can take some of the guesswork out of building a palette, particularly when shopping online. Look for a mix of light, medium, and dark values so that neighboring areas of the design remain distinct.
Of course, color is also one of the easiest ways to make a pattern your own. You are never obligated to match the photograph in a book or the example included with a design.
Essential Embroidery Tools
You do not need a large collection of equipment to begin. A few well-chosen tools will carry you through many projects.
Embroidery Needles
Embroidery needles have sharp points and eyes large enough to accommodate embroidery thread. Needle sizes vary: a larger number generally indicates a finer needle.
Choose a needle that passes through the fabric comfortably without leaving a noticeable hole, but with an eye large enough for your chosen thread. If pulling the needle through the cloth requires too much effort, try a different size rather than forcing it.
Embroidery Hoops
A hoop holds the fabric taut so that you can form stitches more evenly. It should keep the cloth firm without stretching it out of shape.
Wooden hoops are simple, useful, and available in many sizes. A hoop only needs to hold the area you are currently stitching; it does not have to surround the entire design at once.
Some embroiderers also use hoops as frames for finished work. If you plan to do this, choose a hoop size and finish that complement the design.
Small Scissors
A pair of sharp embroidery scissors makes it easier to trim threads closely and neatly. Reserve them for thread rather than using them for paper or heavier materials.
Fabric-Marking and Transfer Tools
Depending on the project, you may need a removable fabric pen, chalk pencil, transfer paper, or another method of placing the design on the cloth.
Always test a marking tool on a scrap or inconspicuous part of the fabric first. Make sure the mark is visible enough to follow and can be removed according to the manufacturer’s instructions.
Helpful Extras
A thimble can protect your finger and provide extra pressure when stitching through heavier cloth. A needle book keeps sharp tools safely organized, while an embroidery stand can hold the hoop and leave both hands free.
These additions can make stitching more comfortable, but they are not requirements for your first project.
The Easiest Place to Start: An Embroidery Kit
If choosing every element separately feels like too much at first, an embroidery kit can make the process much simpler.
A kit gathers the major parts of a project for you. Depending on the design, it may include:
-
Printed or pre-marked fabric
-
Embroidery thread
-
A needle
-
Instructions
-
Stitch diagrams
-
A hoop or finishing materials
Always check the contents before beginning. Some kits require you to supply your own hoop, scissors, transfer tools, or sewing materials. Others include embroidery as one stage of a larger project, with a little hand sewing or assembly needed at the end.
Kits are not only for complete beginners. They can also be a pleasant way for experienced stitchers to try a new designer, work with an unfamiliar technique, or begin a satisfying project without spending time gathering supplies.
A Simple Plan for Your First Project
A modest first project gives you room to learn without becoming overwhelming.
-
Choose a small design. A flower, leaf, simple animal, or geometric motif is plenty.
-
Select a stable fabric. Medium-weight cotton or linen is a dependable choice.
-
Keep the palette manageable. Begin with three to six coordinated colors.
-
Learn a few useful stitches. Running stitch, backstitch, satin stitch, and French knots can create an astonishing variety of effects.
-
Practice on a scrap. Test the needle, thread weight, colors, and stitches before beginning the finished piece.
-
Let the work be handmade. Slight variations in line and texture are part of the character of hand embroidery.
You might begin with a motif that can be completed in an afternoon, but there is no need to rush. Embroidery is especially well suited to being picked up for a few minutes at a time and returned to when the moment is right.
Find a Motif for the Season
The natural world offers an ever-changing source of embroidery ideas. Our seasonal collections gather patterns from some of our favorite embroidery books, making it easier to find flowers, animals, foliage, and small scenes that suit the time of year.
Make It Your Own
A pattern provides a place to begin, but it does not dictate the finished work.
The choices you make—the cloth, the thread, the colors, the number of strands, the placement, and even the tiny irregularities of your stitches—give the piece its character. Two people can begin with the same design and create something entirely different.
That is part of what makes embroidery so enduring. With a handful of simple tools, thread becomes line, fabric becomes a canvas, and an ordinary object can carry the unmistakable mark of the person who made it.