A Simple Project That Looks Beautiful Every Time
There’s something especially charming about stitching script on gingham. The grid gives you a scaffolding to follow, the letters feel playful and personal, and the finished piece looks like it could have been pulled straight from a vintage sewing basket.
If you’re looking for an easy way to personalize linens, patches, napkins, or ornaments—script embroidery on gingham is a wonderful place to start.
Below is a simple process you can follow, whether you’re a seasoned stitcher or new to hand embroidery.

Tools & Supplies
-
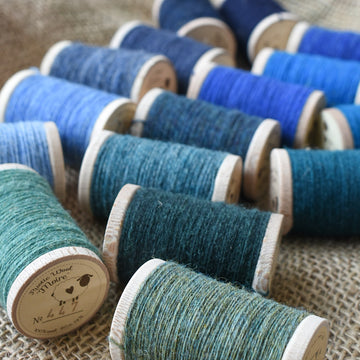
Embroidery hoop (5–8" works well for most script)
-
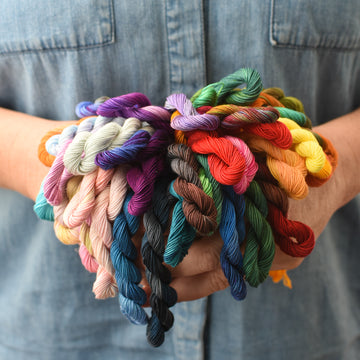
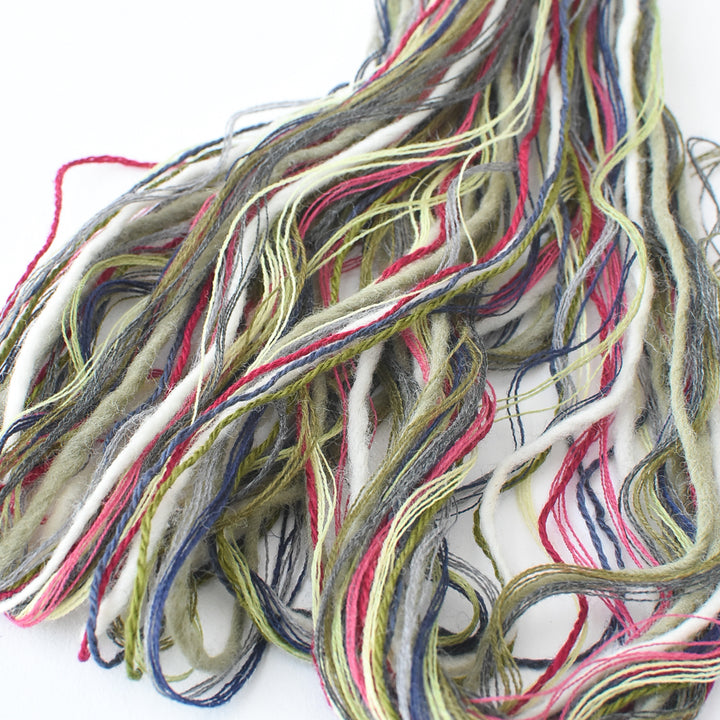
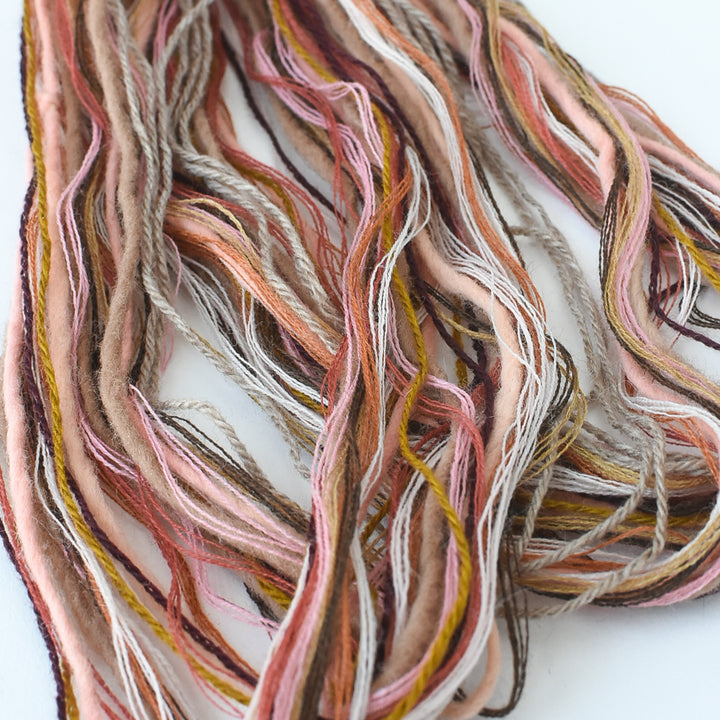
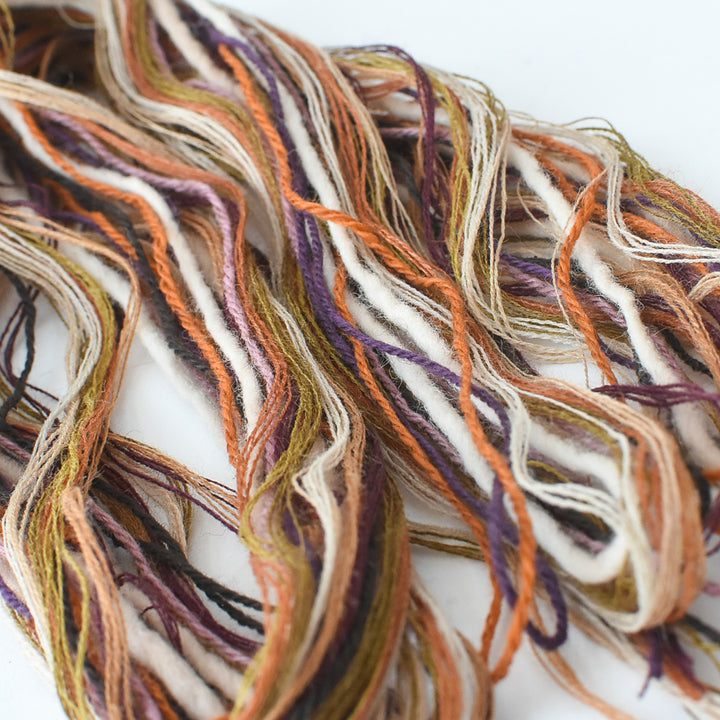
Embroidery floss or sashiko thread
-
Tip: A single color in a bold shade—like red on grey—always looks crisp and classic.
-

How to Embroider Script on Gingham
1. Choose Your Word or Phrase
Short, flowing words work beautifully—merry, joy, hello, a name, or a single initial.
Script fonts with long, continuous strokes are easiest to stitch, but a quick sketch by hand works just as well.
2. Transfer the Script to Your Fabric
You have a few easy options:
- Freehand it directly using the gingham squares to keep your baseline straight.
- Trace from a printed script by holding your fabric up to a window or lightbox.
- Use the grid as your guide: follow the lines of the checks to keep spacing even.
The beauty of gingham is that it gently nudges your lettering into alignment without feeling rigid.
3. Hoop Your Fabric
Place your fabric in the embroidery hoop, tightening until it feels smooth and drum-like.
If your gingham is soft or loosely woven, consider adding another layer e.g. a lightweight stabilizer behind it.
4. Start Stitching
For script, the most forgiving stitch is the stem stitch, which gives you that ropey, continuous line.
But you can also use:
- Backstitch
- Split stitch
- Chain stitch (for a chunkier, vintage look)
Whichever you choose, keep your stitches small enough to follow the curves.
5. Follow the Flow of the Script
Stitch your letters as if you were writing them by hand:
- Work along the baseline of the gingham rows.
- Use the checks to keep your curves even and your spacing natural.
- If a letter looks wobbly—don’t worry. Script always comes alive in the overall rhythm, not the perfection of any one curve.
6. Tuck in Tails & Press Gently
Trim your thread tails and give the piece a gentle press from the back with a warm iron.

Tips for Success
- Contrast is your friend. Pick a thread color that stands out clearly against your gingham.
- Use 2–3 strands of floss for delicate lettering; 6 strands for bold, decorative script.
- Test a letter or two first to decide how dense you want your stitches.
- If your script is loopy, outline first with backstitch, then overstitch with chain or stem stitch for texture.
- Gingham hides small missteps, so this is a wonderfully forgiving project.
A Few Ideas to Stitch
- “merry” on a holiday napkin
- a child’s name on a backpack patch
- a monogram on a handkerchief
- short affirmations (hello, joy, gather) for framed hoops
- “cheers” for cocktail napkins
- personalized gift wrap cloths (furoshiki!)