There’s something quietly luxurious about a stack of handmade napkins — soft linen, crisp corners, a little stitched detail that says someone cared. Whether you’re setting the table for guests or just making an ordinary meal feel special, cloth napkins are one of the simplest, most satisfying projects to sew.
You can start two ways: embellish ready-made napkins with embroidery or sew your own from beautiful yardage.
Option 1: Embroider Pre-Sewn Napkins
If you already have napkins you love — linen, cotton, or even vintage finds — embroidery is a lovely way to personalize them. If you want crisp, new napkins ready for embroidery, like these blanks are a great way to start.
Here’s how:
-
If the napkins aren't new, wash and press your them first. Natural fibers shrink slightly and you’ll want a smooth surface to stitch on.
-
Choose a motif — a sprig of herbs, a small acorn, or an initial. (Our embroidery patterns and books are full of patterns that scale beautifully for napkin corners.)
-
Transfer your design using your preferred method — water-soluble pen, tracing, or iron-on transfer paper.
-
Embroider by hand using embroidery floss. Keep your stitches neat and your thread ends tucked in for a finished look.
-
Press again from the back to set the stitches.
That’s it! You’ve transformed an ordinary napkin into something distinctly yours.
Option 2: Sew Your Own Napkins
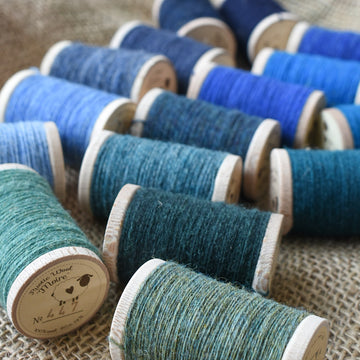
If you’d rather start from scratch, choose linen or yarn-dyed cotton — fabrics woven with color in both warp and weft so they look the same on both sides. These are ideal for napkins because they don't have a right side and a wrong side. They also feel substantial and wear beautifully over time.
You’ll need:
-
½ yard of fabric for two 16" napkins (or more for larger sizes)
-
Thread to match or contrast
-
Scissors, ruler, iron, pins
-
Sewing machine or needle for hand sewing
Steps:
-
Cut squares to your desired size — typically 16–20 inches (40–50 cm).
-
Press a double hem:
-
Fold each raw edge ¼ inch (6 mm) and press.
-
Fold again ¼ inch (6 mm) and press once more to encase the raw edge.
-
-
Miter the corners:
-
Open your second fold and fold the corner diagonally so the pressed creases meet.
-
Trim the tip of the corner if needed, then refold along the creases to form a tidy diagonal seam.
-
-
Sew the hems:
-
Use a straight stitch by machine or small running stitches by hand.
-
Pivot neatly at each corner to keep your lines straight.
-
-
Press once more for crisp edges.
Now you have napkins that are reversible, washable, and heirloom-worthy.
Make It Your Own
- Add a simple embroidered monogram or tiny motif in one corner.
- Mix and match thread colors for a set that feels joyful and lived-in.
- Try contrast stitching for a hand-finished look.
Find Materials & Inspiration
Browse our embroidery patterns and books and yarn-dyed fabrics to start your napkin-making project. You’ll find the same kind of thoughtfully sourced materials we use in our own workshops — made to last, season after season.